
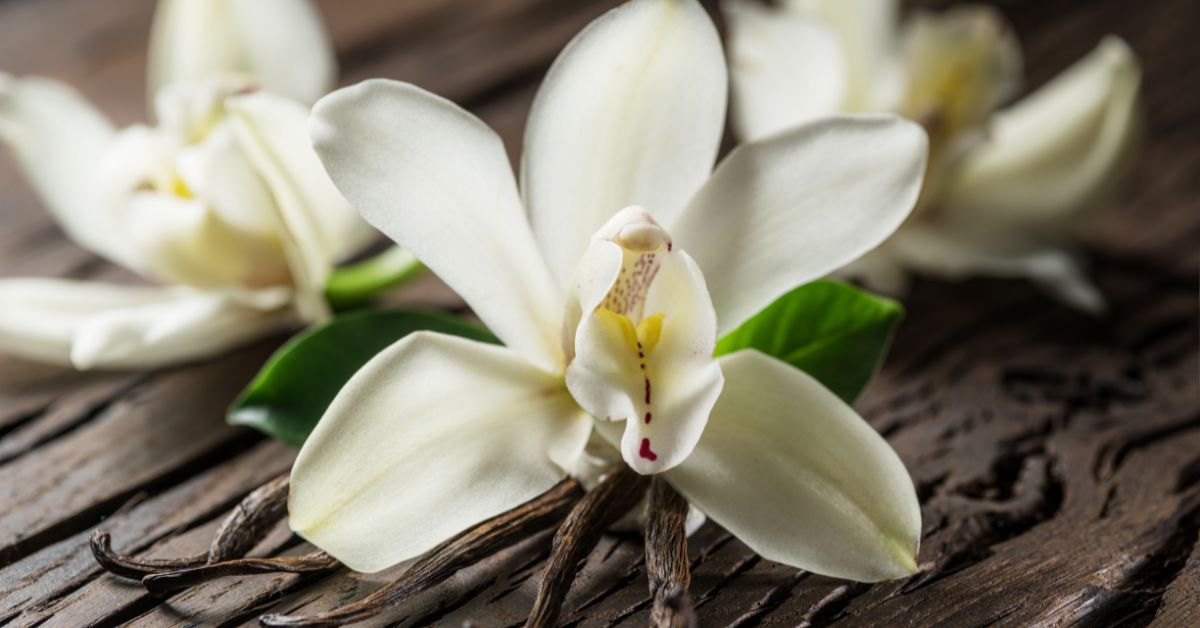
Have you ever dreamed of creating your own homemade vanilla extract? This year, for the very first time, I embarked on that journey—and it’s almost ready! I started our homemade vanilla extract back in July, and watching the transformation over the months has been nothing short of magical.
Making homemade vanilla extract isn’t just about saving money—it’s about creating something truly unique. Whether you’re a baker seeking richer flavors or someone looking to personalize their gifts, this guide has everything you need to succeed. From selecting the best vanilla beans to learning how to store and age your extract for optimal flavor, we’ll cover it all.
In this step-by-step guide, you’ll discover:
- How to choose ingredients and tools for the perfect extract.
- A simple process to craft your own vanilla masterpiece.
- Creative ways to use it in baking, desserts, and more.
So, are you ready to elevate your culinary game? Let’s dive into the art of making homemade vanilla extract and turn an everyday ingredient into something extraordinary!
Why Make Homemade Vanilla Extract?
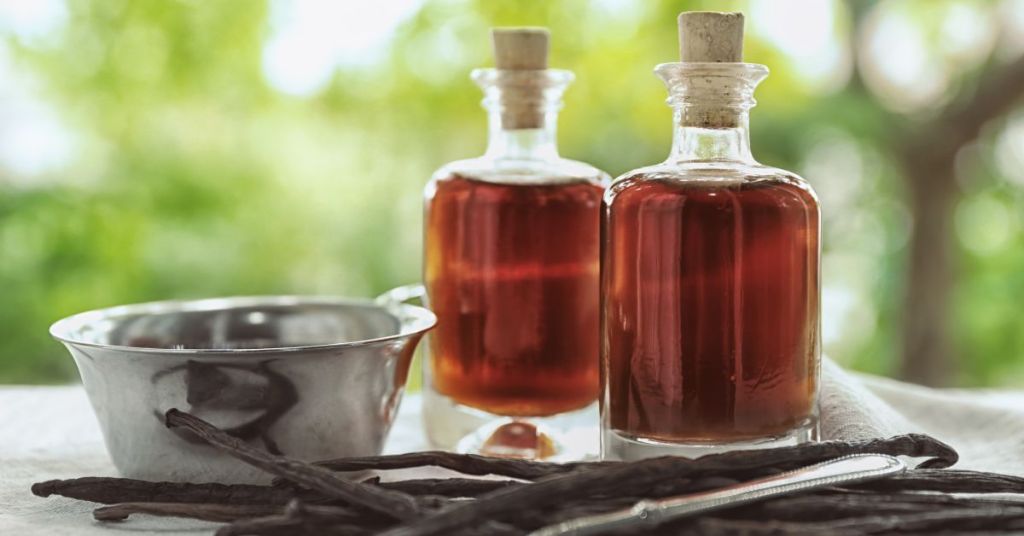
Have you ever wondered what makes homemade vanilla extract so special? Unlike the store-bought versions, crafting your own vanilla extract allows you to control every detail—from the quality of the vanilla beans to the type of alcohol used. The result? A flavor profile that’s uniquely yours and far superior to anything off the shelf.
A Difference You Can Taste
Homemade vanilla extract has a depth of flavor that’s hard to replicate. Whether you’re baking cookies, whipping up a cake, or experimenting with new recipes, the pure, aromatic notes of homemade extract will elevate every dish. By using high-quality vanilla beans, you can ensure a richer, more complex taste.
Personalization and Creativity
When making your own extract, you can customize it to suit your preferences. Choose between vanilla beans from Madagascar, Tahiti, or Mexico—each offering a distinct flavor profile. You can even experiment with different alcohols like vodka, bourbon, or rum for a personalized touch.
Ingredients and Tools Needed
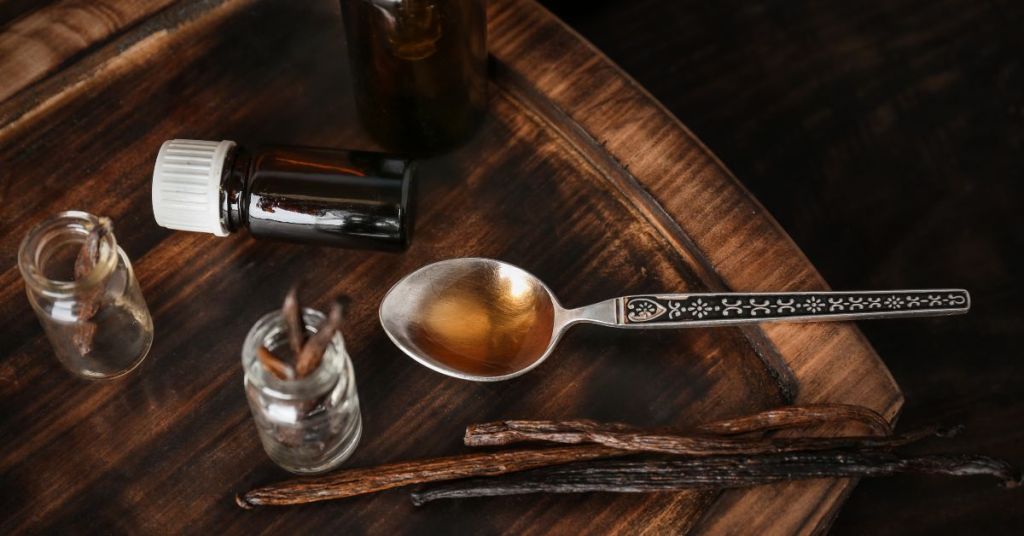
Starting your homemade vanilla extract journey is easier when you have the right ingredients and tools on hand. In this section, we’ll cover everything you need to ensure a smooth and successful process, from selecting premium vanilla beans to choosing the perfect bottles for storage.
Choosing the Best Vanilla Beans
The key to an exceptional extract lies in the quality of the vanilla beans. Madagascar beans are renowned for their rich, creamy flavor, while Tahitian beans offer floral and fruity notes. Mexican beans, on the other hand, provide a bold, smoky taste. Choose the type that aligns with your culinary goals or experiment with different varieties for a unique blend.
Essential Tools for Success
To craft your vanilla extract, you’ll need a few simple tools:
- Sharp knife: For splitting the beans and exposing the seeds.
- Glass bottles or jars: Amber or dark glass bottles are ideal for preserving flavor and protecting the extract from light.
- Measuring cups: To ensure precise alcohol-to-bean ratios.
- Funnel: Makes transferring liquids into bottles mess-free.
Pro Tip:
Consider labeling your bottles with the start date to keep track of aging time. This adds a personal touch and makes gifting even more special.
Step-by-Step Guide to Making Homemade Vanilla Extract
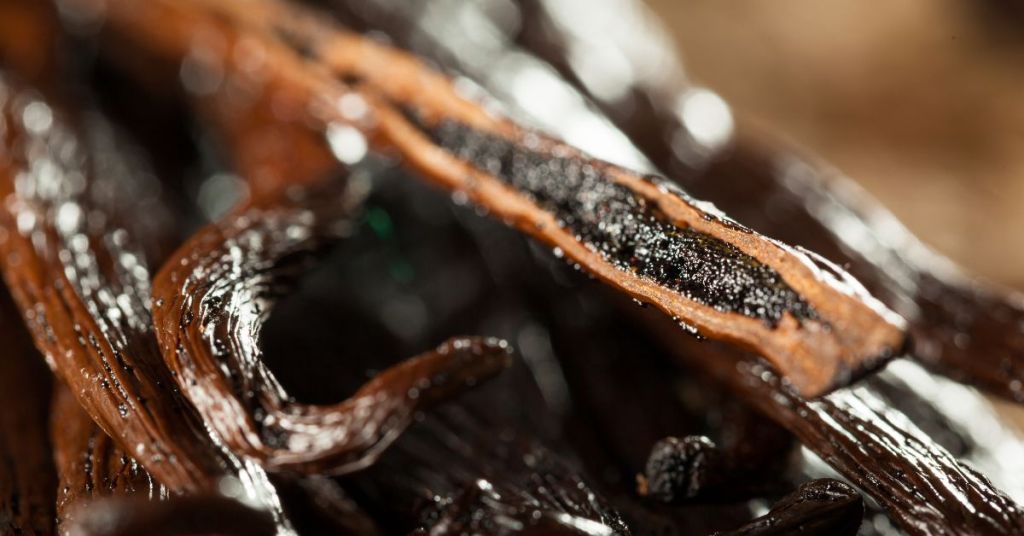
Creating your own vanilla extract at home is a simple process that delivers incredible results. Follow these easy steps to craft a rich, flavorful extract that will elevate your baking and cooking.
Preparing Your Vanilla Beans
- Select your beans: Choose high-quality beans, such as Madagascar, Tahitian, or Mexican varieties.
- Slice the beans: Use a sharp knife to split each bean lengthwise, exposing the seeds while keeping the pods intact.
- Measure your beans: A standard ratio is about 5–7 beans per cup of alcohol, depending on the strength you desire.
Assembling and Sealing Your Extract
- Choose your alcohol: Vodka is a classic choice for its neutral flavor, but bourbon or rum can add a unique twist.
- Combine beans and alcohol: Place the split beans in a glass bottle or jar, then pour the alcohol over them until fully submerged.
- Seal the bottle: Ensure it’s airtight to prevent evaporation and contamination.
Pro Tip:
Shake the bottle gently once a week to mix the flavors and speed up the infusion process.
Storing and Aging Your Vanilla Extract
Patience is key when it comes to crafting the perfect homemade vanilla extract. Proper storage and aging ensure that the flavors develop fully, giving your extract the richness and complexity it deserves.
Proper Storage Tips
- Use the right bottles: Amber or dark glass bottles are ideal for protecting your extract from light, which can degrade its quality over time.
- Store in a cool, dark place: A pantry or cupboard is perfect to keep the extract at a stable temperature.
- Avoid exposure to heat or light: Both can weaken the infusion process and shorten the extract’s shelf life.
How Long to Age Your Extract for Optimal Flavor
- The minimum aging period: Allow your extract to age for at least 8 weeks, shaking the bottle weekly to mix the flavors.
- For the best results: Let it mature for 6–12 months. The longer it ages, the more robust and aromatic the flavor becomes.
- Testing your extract: After 8 weeks, open the bottle and take a small sample. If the aroma and flavor aren’t strong enough, let it age longer.
Pro Tip:
Keep a few bottles aging at different times so you always have extract ready to use or gift.
Creative Uses for Homemade Vanilla Extract

Homemade vanilla extract brings a burst of rich, aromatic flavor to both sweet and creative culinary creations. Beyond its classic role in baking, there are plenty of ways to enjoy and share this versatile extract.
Baking and Desserts
- Homemade Whipped Cream: Add a teaspoon of homemade vanilla extract to freshly whipped cream for a fragrant, flavorful topping on pies, pancakes, or waffles.
- Pancake or Waffle Batter: Stir in a splash of vanilla extract to pancake or waffle batter to create an extra layer of aroma and flavor.
- French Toast Upgrade: Add a few drops of vanilla extract to your egg mixture for French toast—it creates a rich and irresistible flavor.
- Hot Drinks: Stir into hot cocoa, coffee, or lattes for a warm and comforting vanilla twist.
- Smoothies and Milkshakes: A small amount of vanilla extract can elevate a banana smoothie, strawberry milkshake, or protein shake.
- Oatmeal and Porridge: Mix in a dash of vanilla extract to warm oatmeal or porridge for a cozy, lightly sweetened flavor.
- Homemade Granola: Add vanilla extract to your granola mix before baking for a subtle, aromatic note that pairs perfectly with nuts and dried fruits.
- Yogurt Parfaits: Layer vanilla-scented yogurt with fresh berries and granola for a refreshing, flavorful breakfast or snack.
- Rice Pudding: Stir vanilla extract into creamy rice pudding for a comforting dessert with a touch of homemade elegance.
- Buttercream Frosting: Whip vanilla extract into homemade buttercream frosting for a classic flavor that complements cakes, cupcakes, and cookies.
Gifts and Presentation Ideas
- Personalized bottles: Decorate glass bottles with custom labels, ribbons, and tags for thoughtful, handcrafted gifts.
- Simmer pot gift sets: Pair your homemade vanilla extract with dried citrus slices, cinnamon sticks, and cloves for a fragrant simmer pot kit—perfect for cozy winter days.
- Holiday baskets: Pair your homemade vanilla with baking tools, cookie cutters, or recipe cards for a festive gift set.
- Vanilla sugar jars: Combine sugar with a split vanilla bean in a decorative jar. After a few weeks, the sugar absorbs the vanilla aroma, making it a delightful addition to coffee, oatmeal, or desserts.
- Special occasions: Share as a unique wedding, birthday, or housewarming favor.
- Vanilla-infused salt: Mix high-quality sea salt with a hint of homemade vanilla extract for a sweet-and-savory twist. It’s excellent for caramel desserts or as a gourmet finishing salt.
- Homemade vanilla syrup: Turn your extract into a vanilla syrup by mixing it with sugar and water. It’s perfect for lattes, pancakes, or drizzling over ice cream.
- Simmer pots: Create natural, fragrant simmer pots with homemade vanilla extract, dried fruits, and spices to fill your home with a warm aroma.
- Vanilla pantry staples: Make vanilla-infused pantry staples, like sugar, salts, and syrups, and explore their versatile uses.
- Handcrafted vanilla gifts: Create unique, vanilla-themed gifts for weddings, holidays, or other special occasions.
Pro Tip:
For a creative twist, try infusing your extract with complementary flavors like cinnamon sticks, coffee beans, or citrus zest.
Bring Homemade Vanilla Extract to Life
Crafting homemade vanilla extract isn’t just about mixing beans and alcohol—it’s about slowing down, savoring the process, and creating something extraordinary from simple ingredients. Watching the extract transform over time is like unlocking a secret only your kitchen knows, one that elevates your dishes and warms the hearts of those you share it with.
Whether you’re adding depth to your favorite desserts, experimenting with new flavors, or gifting a little piece of your creativity, homemade vanilla extract brings more than flavor—it brings a story.
Considering my own batch has been aging since July, it’s finally time to put it to use. I’m prepping cookie dough to keep in the freezer, ready for the upcoming festivities. It’s a simple way to bring a little comfort through vanilla to Tom and Pietro—something warm and familiar to brighten even the gray days that may lie ahead.
Ready to start your own batch? Gather your beans, bottles, and patience, and let the magic unfold. Don’t forget to share your thoughts and creations in the comments below—we can’t wait to hear about the flavor you’re crafting!